Navigating around Silverstripe Cloud
After you login you will be shown a list of stacks that you have access to.

Clicking on one of the stacks gives you access to all environments associated with it. Each stack will have at least two environments available: Production and UAT. What actions you can perform depends on your permissions.

Who can deploy
By default, all users on the stack are able to deploy to test or UAT environments.
Deploying to production requires approval from a Release Manager, or Stack Manager before it can proceed. The exception is a Deployer is able to bypass approval if needed for emergency situations.
You can find out more about user permission and roles in the Roles section.
Deploying a release
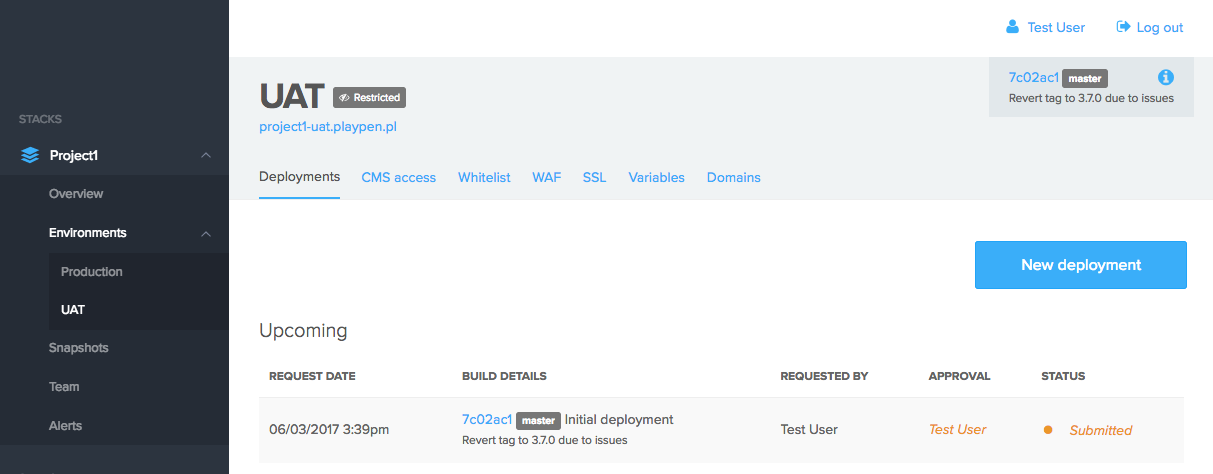
To deploy a release, go into the environment you want to deploy to.
Press “New deployment” and you will be presented with a dialog. The first step is to choose the code revision you would like to deploy. If you can’t see your branch, try hitting “Fetch code”.

In this example, we’ll deploy the master branch of the code. Press “Continue” to proceed to the “Deployment plan” step.

Fill out the title and description fields with some information about this deployment. Also take note of the changes table underneath these fields, this will contain the code revision changes, as well as any other configuration changes if applicable.
Press “Continue” to proceed to the “Approval” step.

At this point, you will need to select a Release Manager, or Stack Manager user from the dropdown to seek approval. Once you have selected a user and hit “Send request”, the selected user will be sent an email with details of your deployment and how to approve it.
If you have sufficient permissions then you may see a “Bypass approval” button. This can be used on UAT or test environments by all users where approval isn’t required but is only available to users with Deployer or greater permissions for production environments.

When the deployment has been submitted for approval, no further changes to the deployment plan can be made. You can hit “Remove” to cancel the approval request if you need to make changes or hit “Delete” in the “Options” dropdown at the top of the dialog to completely cancel the deployment altogether.

You can close the dialog and come back later, the deployment will remain in the “Upcoming” table for later access.

Once the deployment has been approved or bypassed, you will now see a “Start deployment” button in the deploy dialog which allows you to start the deployment at the time of your choosing. Once started, a log of the progress will be shown.
